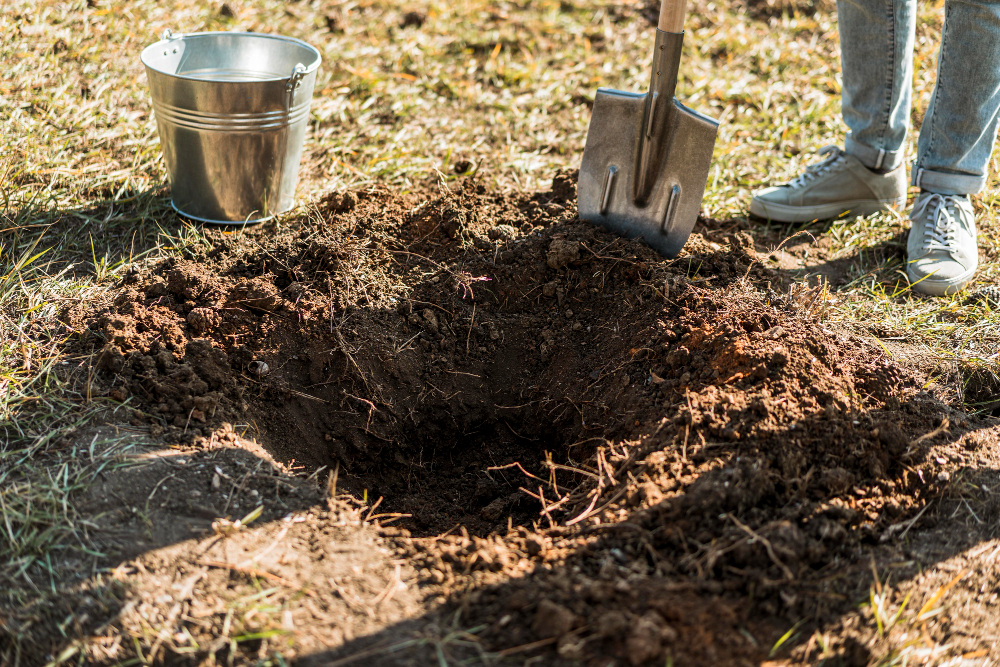
Tips for Digging Post Holes for Your Fence

Building a fence can be a rewarding project for homeowners seeking privacy, security, or simply a way to define their property's boundaries. However, one of the most crucial steps in this process is digging the post holes. Properly installed fence posts are essential for a sturdy and durable fence. Whether you're a DIY enthusiast or planning to hire fencing contractors in Jacksonville, FL, understanding the basics of digging post holes is invaluable. In this guide, we’ll walk you through essential tips and considerations to ensure your fence stands tall and strong.
Why Proper Post Hole Digging Matters
Before we get into the tips, let's discuss why correctly digging post holes is so critical. Poorly dug holes can lead to instability, causing your fence to lean or even collapse over time. This can result in costly repairs or replacements. By taking the time to properly dig and set your fence posts, you're investing in the longevity and effectiveness of your fence.
Tools You'll Need
Here's a list of tools to gather before you start:
- Post hole digger or auger: Essential for digging uniform holes.
- Tape measure: To ensure consistent spacing between holes.
- Level: For keeping posts vertical.
- Shovel: For removing dirt and adjusting the hole depth.
- Gravel and concrete mix: To anchor the posts securely.
- Protective gear: Including gloves and safety glasses.
Tips for Digging Fence Post Holes
1. Determine the Right Depth and Width
The general rule for digging post holes is that the hole should be one-third to one-half the height of the post. For example, if you have 6-foot tall fence posts, the holes should be at least 2 feet deep. The width should be about three times the diameter of the post to accommodate gravel and concrete.
2. Space Holes Evenly
Using a tape measure, mark the spots where each fence post will be placed. Consistent spacing not only improves the appearance of your fence but also ensures its stability. Most fence posts are spaced 6 to 8 feet apart, depending on the type and design of the fence.
3. Consider the Soil Type
The type of soil you’re working with can affect how you dig your holes. Sandy soil is easier to dig but may require deeper holes for stability, while clay soil can be more challenging but provides better anchorage. Adjust your digging method and depth based on the soil conditions in your area.
4. Use Gravel for Drainage
Before setting your posts, add a few inches of gravel to the bottom of each hole. This helps with drainage and prevents the base of the posts from sitting in water, which can lead to rot over time.
5. Secure with Concrete
Pouring concrete into the hole around the post is a common method to secure fence posts. Make sure the post is level before the concrete sets. It's advisable to leave the concrete to cure for at least 24 hours before attaching any fence panels.
6. Check for Underground Utilities
Before you start digging, remember to check for any underground utilities to avoid damaging cables or pipes. Contact local utility companies or use a utility locating service to mark any potential hazards.
When to Hire Professionals
While digging post holes might seem straightforward, it can be labor-intensive and time-consuming. If you're not comfortable tackling the project yourself, or if you’re dealing with difficult terrain, hiring professional fencing contractors in Jacksonville, FL, like Masters Quality Fence, can save you time and ensure a high-quality result.
Benefits of Hiring Masters Quality Fence
- Expertise and Experience: Skilled professionals who can handle any challenges that arise during installation.
- Quality Materials and Workmanship: Ensures a durable and long-lasting fence.
- Time and Effort Saved: Contractors handle all aspects of the installation, allowing you to focus on other important tasks.
- Peace of Mind: Knowing that your fence is being installed correctly by skilled and insured professionals.
Conclusion
Digging post holes for your fence may seem like a daunting task, but with the right tools and techniques, it can be done efficiently and effectively. Remember to take the time to properly plan and measure before digging, and consider hiring professionals for a hassle-free experience. With these tips in mind, you'll be well on your way to enjoying a beautiful and secure fence around your property. So go ahead, start planning your next DIY project or contact Masters Quality Fence for expert fencing services in Jacksonville! Happy building!