The Best Tools for Installing a Fence

Installing a fence can be a rewarding DIY project that enhances the security, privacy, and aesthetic appeal of your home. However, to achieve the best results, you need the right tools and techniques. Whether you're a seasoned DIYer or a novice, this guide will walk you through the essential tools for fence installation. Plus, if you find yourself needing assistance, we’ll also highlight why hiring professional fence companies in Jacksonville, FL, like Masters Quality Fence, is a wise choice.
Introduction to Fence Installation
Before you start digging post holes, it's important to understand the scope of your fence installation project. The type of fence you choose—be it wood, vinyl, or metal—will dictate the tools required. Additionally, local regulations and property lines should be considered to avoid any legal hassles.
Why Choose Professional Fence Companies?
In cities like Jacksonville, FL, weather conditions and soil types can impact the outcome of your fencing project. Professional fence companies, such as Masters Quality Fence, bring expertise and local knowledge to the table, ensuring that your fence can withstand the coastal climate and sandy soil prevalent in the area.
If you're set on a DIY approach, here's a comprehensive list of tools and materials you'll need for a successful installation:
Essential Tools for Fence Installation
1. Post Hole Digger
A post hole digger is crucial for creating uniform holes for your fence posts. For larger projects, consider renting an auger to save time and effort. The sandy soil in Jacksonville, FL makes this tool even handier.
2. Level
Ensuring your fence is level is key to its stability and appearance. Use a bubble or laser level throughout the installation process to keep every component perfectly aligned.
3. Measuring Tape
Accurate measurements prevent future headaches. A reliable measuring tape helps ensure your posts are equidistant and your panels fit perfectly between them.
4. String Line and Stakes
String lines are used to mark the fence line and ensure your posts are installed in a straight line. Secure the string with stakes at each end of your fence.
5. Saw
Depending on your fence material, you may need a circular saw, reciprocating saw, or hand saw to cut fence panels and posts to the desired length. Wood fences, in particular, require precise cuts for a seamless fit.
6. Hammer and Nails or Screwdriver and Screws
Attaching panels to posts requires either nails or screws. A hammer or power screwdriver is essential for this task. When working with wood, screws often provide a more secure connection than nails.
7. Concrete Mixer
For a sturdy fence, concrete is often used to anchor posts. A concrete mixer can save time when mixing large batches. Ensure the concrete is suitable for Jacksonville's climate to prevent cracking and erosion.
8. Shovel and Tamping Tool
A shovel is necessary for backfilling post holes, and a tamping tool helps compact the soil around the posts, ensuring they remain secure.
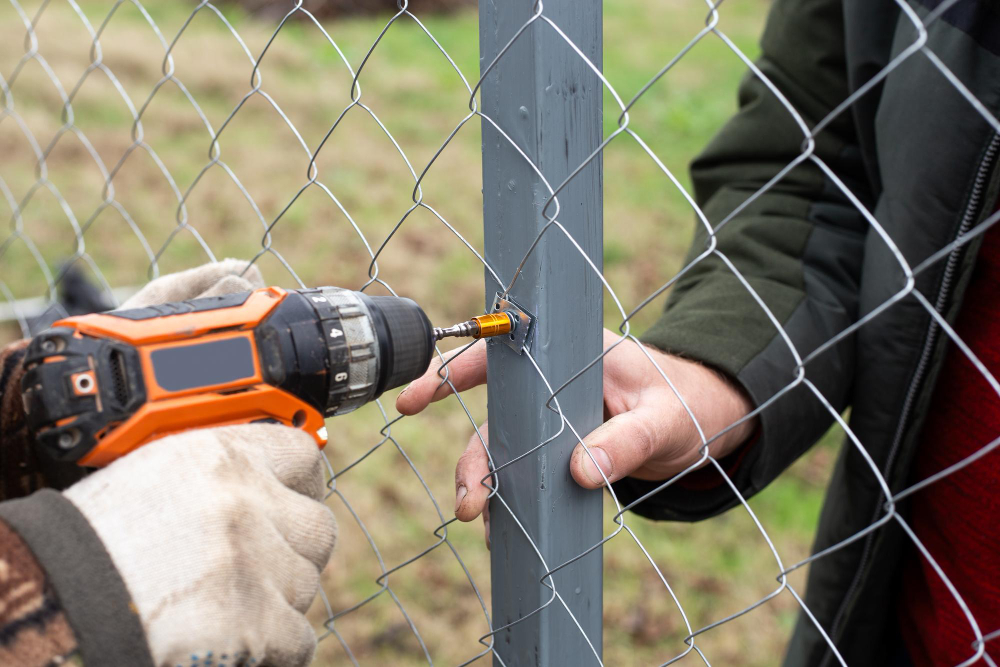
9. Drill
A power drill is indispensable for pre-drilling holes and driving screws. Choose a cordless model for greater mobility around your project site.
10. Safety Gear
Don't forget your safety gear! Gloves, protective eyewear, and ear protection are vital to keep you safe during installation.
Step-by-Step Guide to Fence Installation
Once you have your tools ready, follow these steps to install your fence:
Step 1: Plan Your Fence Layout
Determine the boundaries of your fence, taking care to consult local regulations regarding height and placement. Use string lines and stakes to outline your fence path.
Step 2: Dig Post Holes
Using a post hole digger or auger, dig holes that are at least one-third as deep as the height of your fence. Ensure each hole is wide enough to accommodate the post and a concrete footing.
Step 3: Install and Set Posts
Place your fence posts in the holes, using a level to ensure they are perfectly vertical. Fill the hole with concrete and allow it to cure, keeping the posts supported during this time.
Step 4: Attach Fence Panels
Once the posts are set, attach your fence panels using nails or screws. Check the level and adjust as necessary to maintain a uniform appearance.
Step 5: Finish and Inspect
Complete any finishing touches, such as applying sealant to wooden fences or painting metal ones. Inspect your fence for stability and alignment, making any adjustments as needed.
When to Call in the Professionals
While DIY can be fulfilling, there are situations where calling in the experts is beneficial. For complex designs, large projects, or challenging landscapes, professional fence companies like Masters Quality Fence offer expertise that saves time and ensures a high-quality result. They provide free quotes and personalized solutions tailored to Jacksonville, FL's unique climate and soil conditions.
Conclusion
Building a fence is a significant investment in your property's security and value. With the right tools and a bit of elbow grease, you can achieve a sturdy, attractive barrier. However, for those who prefer to leave it to the pros, Masters Quality Fence is just a call away. Whether you're ready to tackle the project yourself or need professional help, we're here to ensure your fencing needs are met with precision and care.
Take the next step—contact Masters Quality Fence today for your free quote and explore the convenience and expertise we bring to your fencing project.