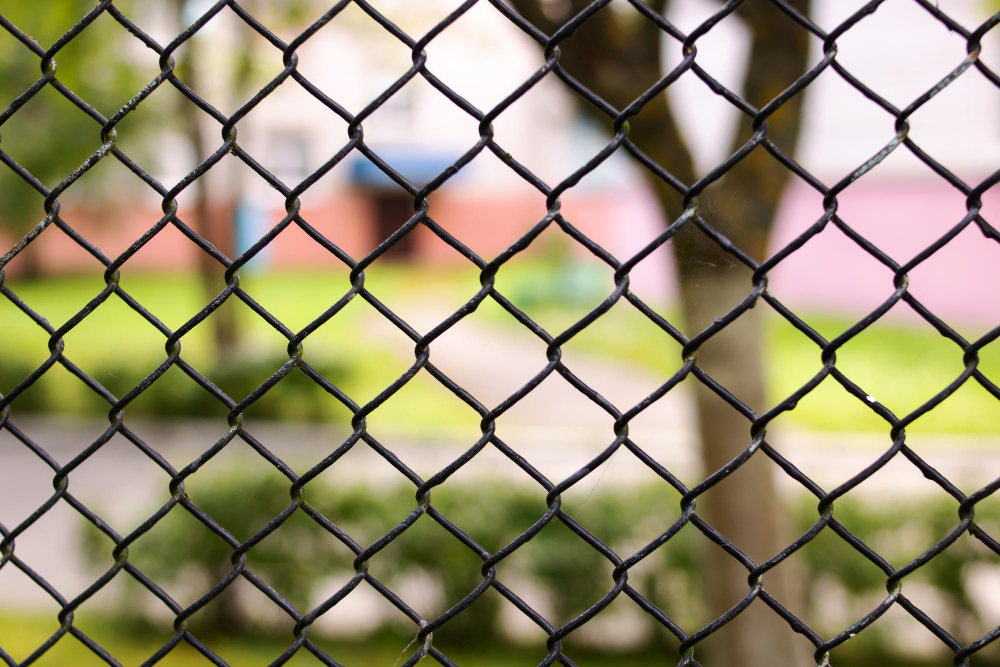
Step-by-Step Guide to Installing a Chain Link Fence

Installing a chain link fence is a practical solution for home and business owners in Jacksonville, FL, looking to add security, define property boundaries, or keep pets and children safe. Known for their durability, affordability, and low maintenance, chain link fences are a popular choice. If you're considering this type of fencing and are searching for reliable fence companies in Jacksonville, FL, look no further than Masters Quality Fence. We offer professional installation services to ensure a hassle-free experience. But if you're a hands-on DIY enthusiast, here’s a step-by-step guide to get you started.
Why Choose a Chain Link Fence?
Before we get into the installation process, let's explore why chain link fences are a great option:
- Affordability: Compared to other types of fencing, chain link is cost-effective, making it an excellent choice for budget-conscious homeowners.
- Durability: Made from galvanized steel, chain link fences withstand harsh weather conditions, including Florida’s humidity and occasional storms.
- Low Maintenance: These fences require minimal upkeep, saving you time and money in the long run.
- Versatility: Chain link fences can be used for various purposes, including residential, commercial, and industrial applications.
- Visibility: While providing security, their open weave ensures visibility, which can be crucial for businesses and residential areas needing surveillance.
Tools and Materials Needed
Before starting your installation, gather the necessary tools and materials:
Tools:
- Tape measure
- Post hole digger or auger
- Level
- Hammer
- Socket wrench
- Pliers
- Shovel
- String line
- Tension wire tool
Materials:
- Chain link mesh
- Fence posts (end, corner, and line posts)
- Top rails
- Tension bars
- Brace bands with bolts
- Gate (if applicable)
- Concrete mix
- Fence ties
Step-by-Step Installation Process
1. Planning and Preparation
Begin by determining the purpose of your fence and the area it will cover. Consider any local regulations or neighborhood guidelines that must be adhered to. Mark the fence line using a string line and stakes, ensuring that the line is taut and straight.
2. Measuring and Marking
Measure the length of the fence line and calculate the number of posts needed. Space line posts 6 to 10 feet apart. Mark post locations with spray paint for accuracy.
3. Digging Post Holes
Use a post hole digger or auger to dig holes for the posts. Generally, end, corner, and gate posts should be buried approximately 2 feet deep, while line posts can be slightly shallower. Ensure the holes are wide enough for stability.
4. Setting the Posts
Mix concrete according to the manufacturer's instructions. Insert end, corner, and gate posts into the holes, ensuring they are level and aligned with the string line. Pour concrete into the holes to secure the posts, allowing adequate time for it to set.
5. Installing Line Posts
Once the concrete has set for the terminal posts, stretch a string between them to mark the line post positions. Insert line posts into their respective holes and secure them with concrete, using the string as a guide to ensure alignment.
6. Attaching the Top Rail
Connect the top rail to the terminal posts using brace bands and bolts. Slide the top rail through the line post loops, ensuring a continuous line along the fence’s top. Cut the rail to fit, if necessary.
7. Unrolling and Attaching the Chain Link Fabric
Lay the chain link mesh along the fence line and unroll it. Starting at one end post, attach the mesh using tension bars and tension bands. Use a socket wrench to secure these tightly.
8. Securing the Fabric to Line Posts
Attach the mesh to the line posts with fence ties or clips, spaced about every 12 inches. This ensures the chain link remains taut and secure.
9. Installing the Tension Wire
Run a tension wire through the bottom loops of the chain link fabric. Use a tension wire tool to tighten and secure it, preventing the mesh from sagging.
10. Hanging the Gate
If your fence design includes a gate, now is the time to install it. Attach the hinges to one gate post and the latch to the opposite post, ensuring the gate swings freely and latches securely.
Final Touches and Maintenance Tips
Once installation is complete, walk the perimeter to check for any loose ties or unsecured areas. Tighten where necessary and trim any excess fabric. Regularly inspect your fence for damages, especially after severe weather, and perform repairs promptly to maintain its integrity.
Consider Professional Installation
While a DIY approach can be rewarding, it can also be labor-intensive and time-consuming. If the process feels overwhelming or you're short on time, professional installation is a worthwhile investment. Masters Quality Fence provides expert fence installation services in Jacksonville, FL, ensuring quality results with minimal hassle.
Conclusion
Installing a chain link fence can enhance your property’s security and aesthetic appeal. By following this guide, you can successfully build a durable and visually appealing fence. However, if you prefer leaving it to the experts, consider contacting Masters Quality Fence for a professional touch. We’re committed to delivering exceptional service and quality craftsmanship. Contact us today to get your free quote and bring your fencing vision to life.