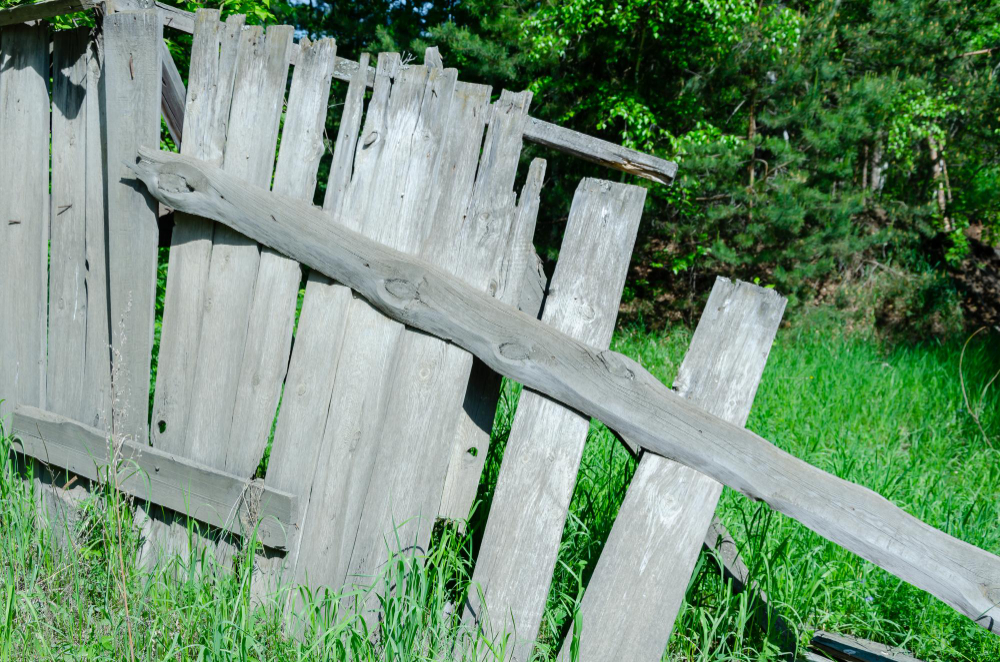
How to Replace a Broken Fence Post

Replacing a broken fence post may seem daunting, but it can be a manageable DIY project with the right tools and know-how. For residents of Jacksonville, Florida, maintaining a sturdy and aesthetically pleasing fence is essential, given the region's frequent storms and tropical climate. This comprehensive guide will walk you through replacing a broken fence post step-by-step, ensuring your property remains secure and visually appealing.
Tools and Materials Needed
- Safety goggles and gloves
- Shovel or post hole digger
- Level
- Drill with screws
- Sledgehammer or post driver
- New fence post (preferably pressure-treated wood for durability)
- Quick-setting concrete mix
- Water
- Measuring tape
- Chisel and hammer (optional for stubborn posts)
- Optional - A fence repair professional for complex repairs
Step 1: Assess the Damage
Before jumping into repairs, assess the extent of the damage to your fence. Determine if only the post needs replacement or if other parts, such as rails or panels, are compromised. In Jacksonville, FL, where weather can cause significant wear and tear, it's critical to perform a thorough inspection to avoid future repairs.
Step 2: Remove the Damaged Post
Safety First
Ensure you wear safety goggles and gloves to protect yourself from debris and sharp edges.
Digging Out the Old Post
- Clear the Area: Remove any debris, plants, or obstructions around the damaged post.
- Remove the Fence Panels: Use a drill to detach the panels connected to the broken post. Be sure to store the screws safely.
- Excavate the Post: Use a shovel or post hole digger to remove soil around the base of the post. If the post is set in concrete, you may need a sledgehammer or chisel and hammer to break it apart.
- Lift the Post: Once the concrete and soil are removed, carefully lift the broken post out of the ground.
Pro Tip:
In areas prone to heavy rain, such as Jacksonville, FL, consider waterproofing the base of your new post to prevent future rot.
Step 3: Prepare the Hole for the New Post
Ensure Proper Depth and Width
- Measure the Hole: The hole should be at least one-third as deep as the total height of the post above ground. Typically, a depth of about 2-3 feet is sufficient.
- Widen the Hole: Make sure the hole's width is at least three times the post's diameter for stability.
Add Gravel for Drainage
Pour a few inches of gravel at the bottom of the hole to improve drainage. This is particularly important in Jacksonville, FL, where the soil can retain moisture.
Step 4: Install the New Fence Post
Position the Post
- Place the Post: Center the new post in the hole and temporarily brace it with stakes or scraps of wood.
- Level the Post: Use a level to ensure the post is plumb. Adjust as necessary and secure it with additional bracing if needed.
Pour the Concrete
- Mix the Concrete: Follow the instructions on your quick-setting concrete mix. Typically, you'll mix the dry concrete with water to achieve a thick consistency.
- Fill the Hole: Pour the mixed concrete into the hole, ensuring it's distributed evenly around the post. Use a stick or shovel handle to remove air pockets.
- Set the Concrete: Allow the concrete to set according to the manufacturer's instructions. This usually takes 24 hours for a full cure.
Pro Tip:
Cover the top of the post with a post cap or sealant to prevent water infiltration, a common issue in Jacksonville's humid climate.
Step 5: Reattach Fence Panels
Once the concrete has cured, remove the braces and reattach any fence panels using your drill and stored screws. Ensure all connections are secure and that the panels are level and aligned properly.
Step 6 (Optional): Stain or Paint the Fence
To prolong the life of your new fence post and improve its appearance, consider staining or painting it. Choose a weather-resistant product suitable for Florida's climate to protect against sun and rain damage.
Troubleshooting Common Issues
Problem 1: Wobbly Post
If the post feels unstable after installation, check that the concrete has fully cured and that the hole was deep enough. Reinforcement may be necessary.
Problem 2: Misaligned Panels
Double-check the positioning of the post and the level of the panels. Adjust the screws or brackets as needed to correct alignment issues.
When to Call a Professional
While many DIYers can successfully replace a fence post, some situations require professional intervention. Consider hiring a fence repair expert in Jacksonville, FL, if you encounter:
- Severely damaged or rotted posts
- Complicated fence designs
- Large numbers of posts needing replacement
A professional can provide valuable expertise and ensure the job is done efficiently and safely.
Conclusion
Replacing a broken fence post in Jacksonville, FL, requires careful planning and execution, especially given the local climate challenges. By following this guide, you can restore your fence's functionality and enhance your property's curb appeal. Remember, if the task becomes too overwhelming and if you need professional fence repair in Jacksonville, FL, don't hesitate to contact Masters Quality Fence for a free quote and professional repair services. Keep your fence in top shape to withstand whatever nature throws your way!