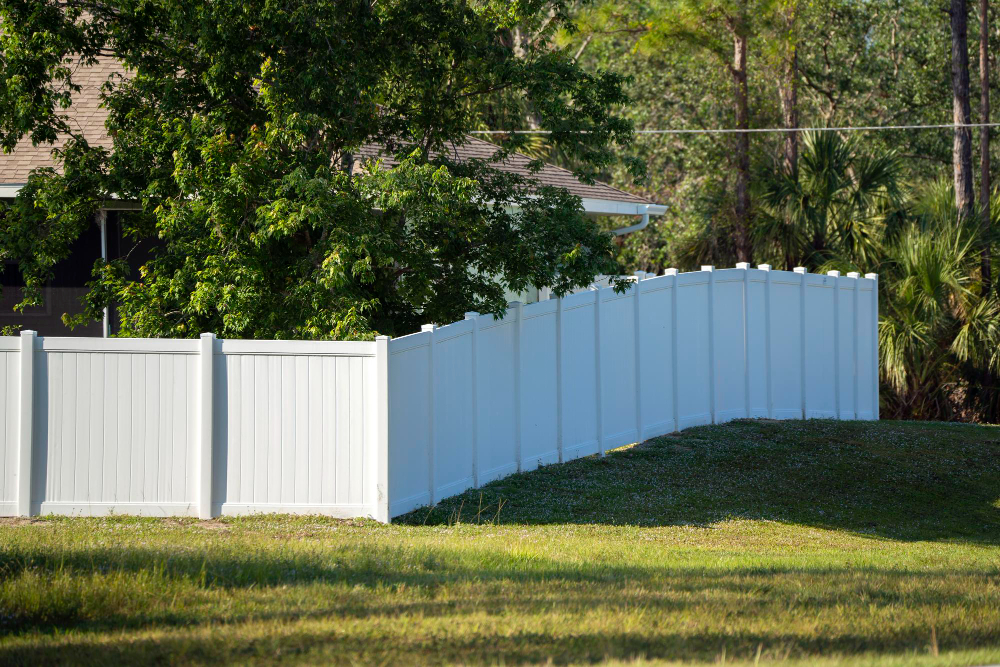
How to Install a Vinyl Fence

Transforming your property with a vinyl fence can enhance its aesthetic appeal and provide the privacy and security you need. If you're considering taking on this project yourself or seeking professional help, this guide will walk you through the essential steps of installing a vinyl fence. And for those in Jacksonville, FL, looking for expert assistance, Masters Quality Fence offers free estimates to get you started.
Why Choose Vinyl Fencing?
Vinyl fencing has become increasingly popular due to its durability, low maintenance, and attractive appearance. Here are some key benefits of choosing vinyl for your fencing needs:
- Durability: Unlike wood, vinyl doesn't rot, warp, or succumb to pest damage. It's designed to withstand harsh weather conditions, making it an excellent long-term investment.
- Low Maintenance: Vinyl fences require minimal upkeep. A simple wash with soap and water will keep your fence looking new for years.
- Variety of Styles: Whether you prefer a classic white picket fence or a more modern design, vinyl offers various styles and colors to suit any home aesthetic.
- Eco-Friendly: Many vinyl fences are made from recycled materials, and they can be recycled again at the end of their lifespan.
Tools and Materials You'll Need
Before you begin the installation process, gather the necessary tools and materials. Having everything on hand will streamline the process and ensure a smooth installation.
Tools:
- Post hole digger or power auger
- Level
- Tape measure
- String line
- Hammer
- Drill
- Circular saw (if cutting is needed)
- Rubber mallet
Materials:
- Vinyl fence panels
- Posts
- Concrete mix
- Gravel
- Gate kit (if installing a gate)
Step-by-Step Installation Guide
Step 1: Planning and Permits
Start by checking local regulations and obtaining any necessary permits. Regulations can vary, so it's crucial to ensure compliance to avoid fines or having to redo the work. Contact your local municipality for guidance.
Step 2: Mark Your Fence Line
Using stakes and a string line, mark the perimeter where your fence will be installed. Ensure that the line is straight and follows property boundaries accurately. Use a measuring tape to ensure even spacing between posts.
Step 3: Dig Post Holes
Using a post hole digger or power auger, dig holes for your posts. The depth of each hole should be about 1/3 the height of the post for stability. Add a few inches of gravel to the bottom of each hole for drainage.
Step 4: Set the Corner and End Posts
Mix your concrete according to the manufacturer's instructions and pour it into the first hole. Set the post in place, ensuring it's plumb and aligned. Use a level to check the post's alignment from all sides. Brace the post with temporary supports and allow the concrete to cure according to the package instructions.
Repeat this process for all corner and end posts.
Step 5: Install Line Posts
With the corner and end posts set, install the line posts. Space them evenly based on the length of your fence panels. Align and level each post before securing it with concrete. Again, allow the concrete to fully cure before proceeding.
Step 6: Attach Fence Panels
Once the posts are secure, attach the vinyl fence panels. Start at one end of the fence line and work your way down. Insert the panel rails into the routed holes on the posts. Use a rubber mallet to tap them into place if necessary.
Step 7: Install the Gate
If your design includes a gate, follow the manufacturer's instructions to install it. Ensure the gate is level and swings freely without obstruction.
Step 8: Final Adjustments and Inspection
After all panels and the gate are installed, double-check the entire fence line for alignment and stability. Make any necessary adjustments to ensure everything is secure and level.
Step 9: Clean Up
Once your fence is installed, remove any temporary supports and clean up the work area. Give the fence a final wash to remove any debris or dirt accumulated during installation.
Hiring a Professional
While DIY installation is rewarding, it can be time-consuming and labor-intensive. If you're in Jacksonville, FL, and prefer professional assistance, consider reaching out to local experts like Masters Quality Fence. They offer free estimates and ensure that your fence is installed correctly, saving you time and effort.
Conclusion
Installing a vinyl fence can significantly enhance your property's appearance and functionality. By following this guide, you can achieve a successful installation. However, if you prefer professional help or want to explore more options, contact Masters Quality Fence, a fence company in Jacksonville, FL, today for a free estimate. Their expertise and commitment to quality ensure you'll have a durable and beautiful fence that meets your needs.