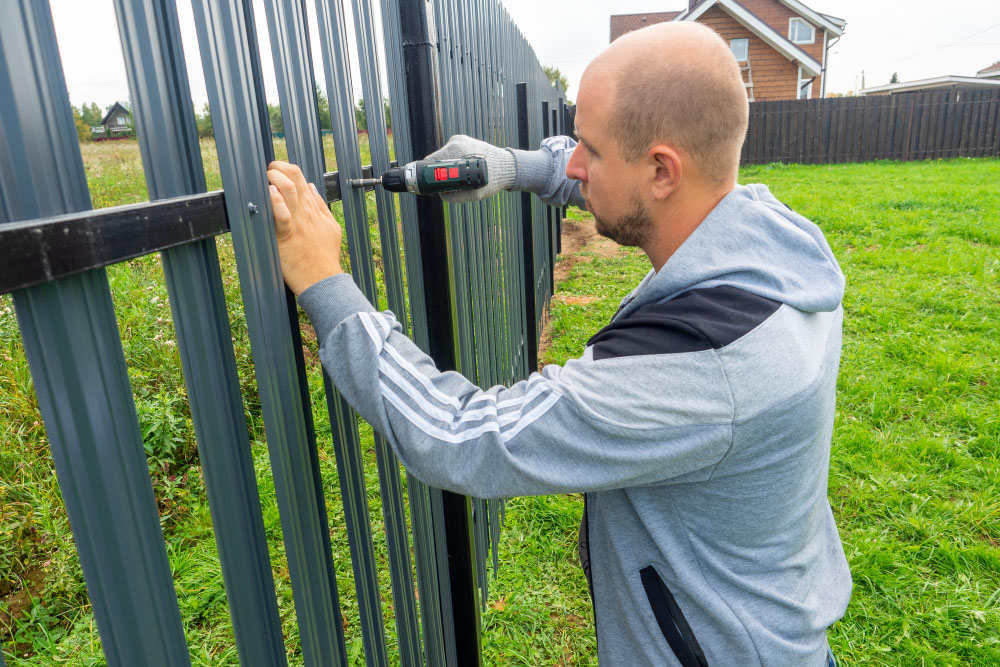
How to Fix Your Fence After Storm Damage

A well-maintained fence not only enhances the aesthetic appeal of your property but also provides security and privacy. However, severe storms can wreak havoc on your fence, leaving it damaged and in need of urgent repair. It's crucial to address these damages promptly to prevent further degradation and ensure the safety of your home.
In this comprehensive guide, we’ll walk you through the steps to fix your fence after storm damage. We'll cover everything from assessing the damage to executing the repairs and when you should consider calling in professionals. Read on to transform your storm-battered fence back into a sturdy and attractive boundary.
Assessing the Damage
Before you can start repairing your fence, you need to assess the extent of the damage. This step is crucial as it will help you determine whether you can handle the repairs yourself or if you need professional assistance.
1. Check for Structural Integrity
Walk along the entire length of your fence and look for any signs of structural compromise. Pay close attention to:
- Broken or missing posts
- Leaning or tilted sections
- Cracked or split rails
- Loose or detached panels
2. Identify Visible Damages
Next, inspect each component in detail to identify visible damages such as:
- Rotting wood
- Rusted metal parts
- Dented or bent panels
- Missing nails or screws
3. Evaluate the Ground Conditions
Storms often lead to soil erosion or loosening, which can affect the stability of your fence. Check the ground around the posts to see if they are still firmly planted.
Gathering Necessary Tools and Materials
Once you have a clear understanding of the damage, it's time to gather the tools and materials needed for the repairs. Here’s a list of common items you might need:
Tools
- Hammer
- Screwdriver
- Pliers
- Shovel
- Post hole digger
- Level
- Tape measure
- Saw
Materials
- Replacement posts
- Rails
- Panels
- Nails or screws
- Concrete mix (for setting new posts)
- Wood preservative or metal primer (to prevent future damage)
Step-by-Step Repair Guide
1. Fixing Broken or Leaning Posts
Materials Needed: Replacement posts, concrete mix, level
- Remove the Damaged Post: Use a shovel or post hole digger to remove the damaged post along with any concrete that may be anchoring it.
- Prepare the New Post: Cut the new post to the appropriate length if necessary, and treat it with wood preservative to prevent future rot.
- Dig a New Hole: Dig a hole that’s about one-third the length of the post and wide enough to hold the new post securely.
- Set the New Post: Place the new post in the hole, ensuring it’s level. Fill the hole with concrete and allow it to set according to the manufacturer’s instructions.
2. Replacing Broken Rails and Panels
Materials Needed: Replacement rails and panels, nails or screws, hammer or screwdriver
- Remove Damaged Components: Carefully remove the broken rails or panels using a hammer or screwdriver.
- Measure and Cut Replacements: Measure the gaps where the damaged components were and cut the new rails or panels to fit.
- Install New Components: Secure the new rails or panels in place using nails or screws, ensuring they’re aligned and securely attached.
3. Addressing Rotting Wood and Rusted Metal
Materials Needed: Wood preservative, metal primer, replacement parts (if necessary)
- Treat Rotting Wood: Apply a wood preservative to any areas showing signs of rot. If the damage is extensive, consider replacing the affected sections.
- Prime Rusted Metal: Sand down rusted metal parts and apply a metal primer to prevent further corrosion. Replace severely rusted parts if necessary.
4. Stabilizing Eroded Ground
Materials Needed: Shovel, soil or gravel, concrete mix (if needed)
- Fill Eroded Areas: Add soil or gravel to any eroded areas around the fence posts. Compact the material to provide a stable base.
- Reinforce with Concrete: If the ground is still unstable, consider adding concrete around the base of the posts for extra stability.
When to Call in the Professionals
While minor repairs can be handled with some DIY effort, larger or more complex issues might require professional intervention. Here are a few scenarios where you should consider hiring experts:
- Extensive Damage: If your fence has multiple broken posts, significant leaning, or widespread rot, professional fence repair services can ensure thorough and effective repairs.
- Structural Issues: If the foundation of your fence has been compromised due to soil erosion or other factors, professionals can provide the necessary structural reinforcements.
- Time Constraints: If you lack the time or resources to carry out the repairs yourself, hiring professionals can save you time and ensure high-quality results.
Conclusion
Fixing a fence after storm damage is essential to maintaining its functionality and appearance. By assessing the damage, gathering the necessary tools and materials, and following our step-by-step repair guide, you can restore your fence to its former glory. However, for extensive damage or structural issues, it’s best to seek professional assistance.
If you need professional fence repair in Jacksonville, FL, contact Masters Quality Fence today for free estimates. Our team of experts is ready to help you with all your fencing needs, ensuring your property remains secure and visually appealing.